
Splitting Maul
Premium quality splitting maul.
| Item No.: | CS11.24.xxx |
| Material of Head: | C45 Carbon Steel |
| Material of Handle: | Nylon Fiber |
| Size: | 3LB | 6LB | 8LB |
| Surface Treatment: | Blacked |
Detailed Description:
Chinese professional manufacturer of splitting maul
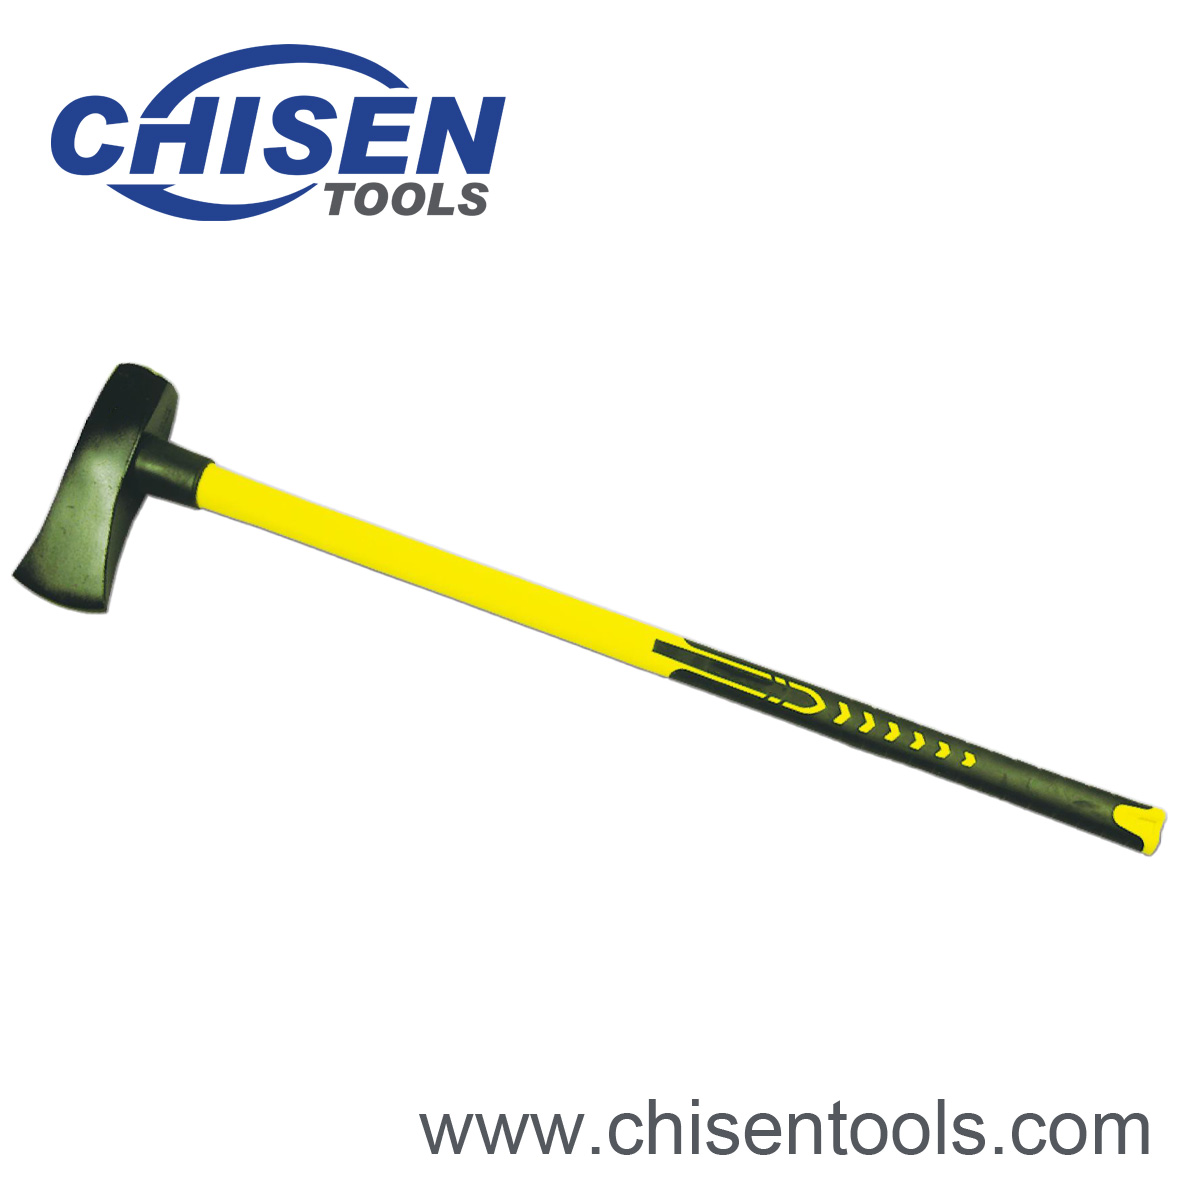
| Item No. | Length of Handle | Weight |
| CS11.24.003 | 900mm | 3LB |
| CS11.24.006 | 300mm | 6LB |
| CS11.24.008 | 300mm | 8LB |
What is a Splitting Maul?
Admittedly, a splitting maul can be mistaken for a splitting axe at first glance. They both have metal heads, but the splitting maul tends to be heavier at six to eight pounds. In addition, the head of the maul is generally wider that a splitting axe and is wedge-shaped in appearance. Because of this shape, it is quite efficient at splitting wood. One other advantage of the shape is that the head of the splitting maul does not tend to stick to the wood. This makes using a splitting maul faster when splitting wood as is does not jam with wood like a splitting axe may tend to do. While splitting mauls are newer compared to splitting axes, they have been engineered better.Splitting Axe Vs. Splitting Maul
What is a Splitting Axe
The splitting axe is the traditional hand tool used to split wood. It has been around for hundreds of years and is still commonly used today. Made with a metal tapered head, a splitting axe is designed to slit wood along the grain. This will break apart the fibers of the wood easier. A typical splitting axe weighs from three to sis pounds. Plus, unlike a traditional axe which is used to chop across the grain, by splitting with the grain, you do not need to apply as much fore.Maul for Axe for Splitting Wood: What should We Choose?
A considerable part of your decision will be based on which one appeals to you the most. Hou much you will need to do will also be a determining factor, combined with the size of the wood that you are splitting.Large or small wood pieces
If you are splitting large pieces of wood, then a splitting maul is superior. You can split large pieces faster, although it is tiring effort because of the weight of the maul. However, with the right technique, you can slit large pieces effectively and at a faster pace compared to a splitting axe. Therefore, if you are spitting large pieces of wood for the fireplace or outdoor fire, a splitting maul should be your first consideration. However, if you are splitting smaller pieces of wood, then the splitting axe is generally better.Chopping wood is easier than splitting ax
Another advantage of the splitting axe is that you can chop with it easier compare to a splitting maul. That means you can chop through the width of the wood first and then split it by length using the same splitting axe. A splitting maul is for more difficult to chop with compared to a splitting axe. The splitting axe is also well-suited for smaller people who are not used to lifting the heavier weight of splitting maul repeatedly.Splitting Axe Vs. Chopping Axe
For a simple tool, axes come in a wide range of shapes and sizes. The splitting axe and chopping axe are common types, but they often get mixed up.What is the difference between a splitting axe and chopping axe?
- Splitting axes are made for chopping upright logs into firewood and kindling. They chop with the grain and typically have wide cheeks to force the wood fibers apart.
- Chopping axes have a sharp blade and thin cheeks made to cut into wood against the grain. They are best for felling saplings and trees or bucking logs into manageable pieces.
1. Head design
- A splitting axe head has thicker cheeks than a chopping axe. The blade makes the initial cut, but the wide profile keeps the momentum going and disperses wood more efficiently. Splitting axe bits are often straight, bolstering blade strength to help it absorb the extreme strike impact.
- Chopping axes have a tough job as they need to cut through wood fibers instead of with them. A sharp, thin blade helps the axe cut deeper, while curved edges provide more power at the point of impact.
2. Swing motion
- Splitting axes are mostly raised above the head and brought down vertically. Gravity pulls the axe head downwards, helping the user deliver more powerful blows.
- Swinging a chopping axe to fell timber takes more strength as there is no gravity to assist. Lateral swings rely on accurate blows and power. Chopping axes (aka felling axes) are also helpful in cutting horizontal logs into smaller pieces. This job requires a similar up-and-down technique to a splitting axe.
3. Number of swings
- When splitting wood, the goal is to deliver one-strike splits by working with the grain. That means firewood can be processed quickly and with less effort. While this is easy with wood like willow, it may take multiple swings to break up seasoned elm.
- A chopping axe will rarely get the job done with one swing. Working through the fibers is challenging, and making dozens of swings is common.
- Regardless of the tree’s diameter, it is possible to split any round in one strike. However, the number of swings needed to fell or buck a tree will increase depending on trunk size. A large oak could take hundreds of swings, depending on the logger’s experience.
Can I use splitting axes and chopping axes interchangeably?
While each type of axe can be used in place of the other, it can make simple jobs much more work. Try to use tools for their intended purpose. To split rounds, a sharp and thin chopping axe blade will cut deep into logs and often get stuck. Getting the head out of the wood can be frustrating work. The thick cheeks of a splitting axe will stop the blade from cutting deep into a tree trunk. It will take a lot of extra swing to fell or buck a tree.How to use a splitting axe?
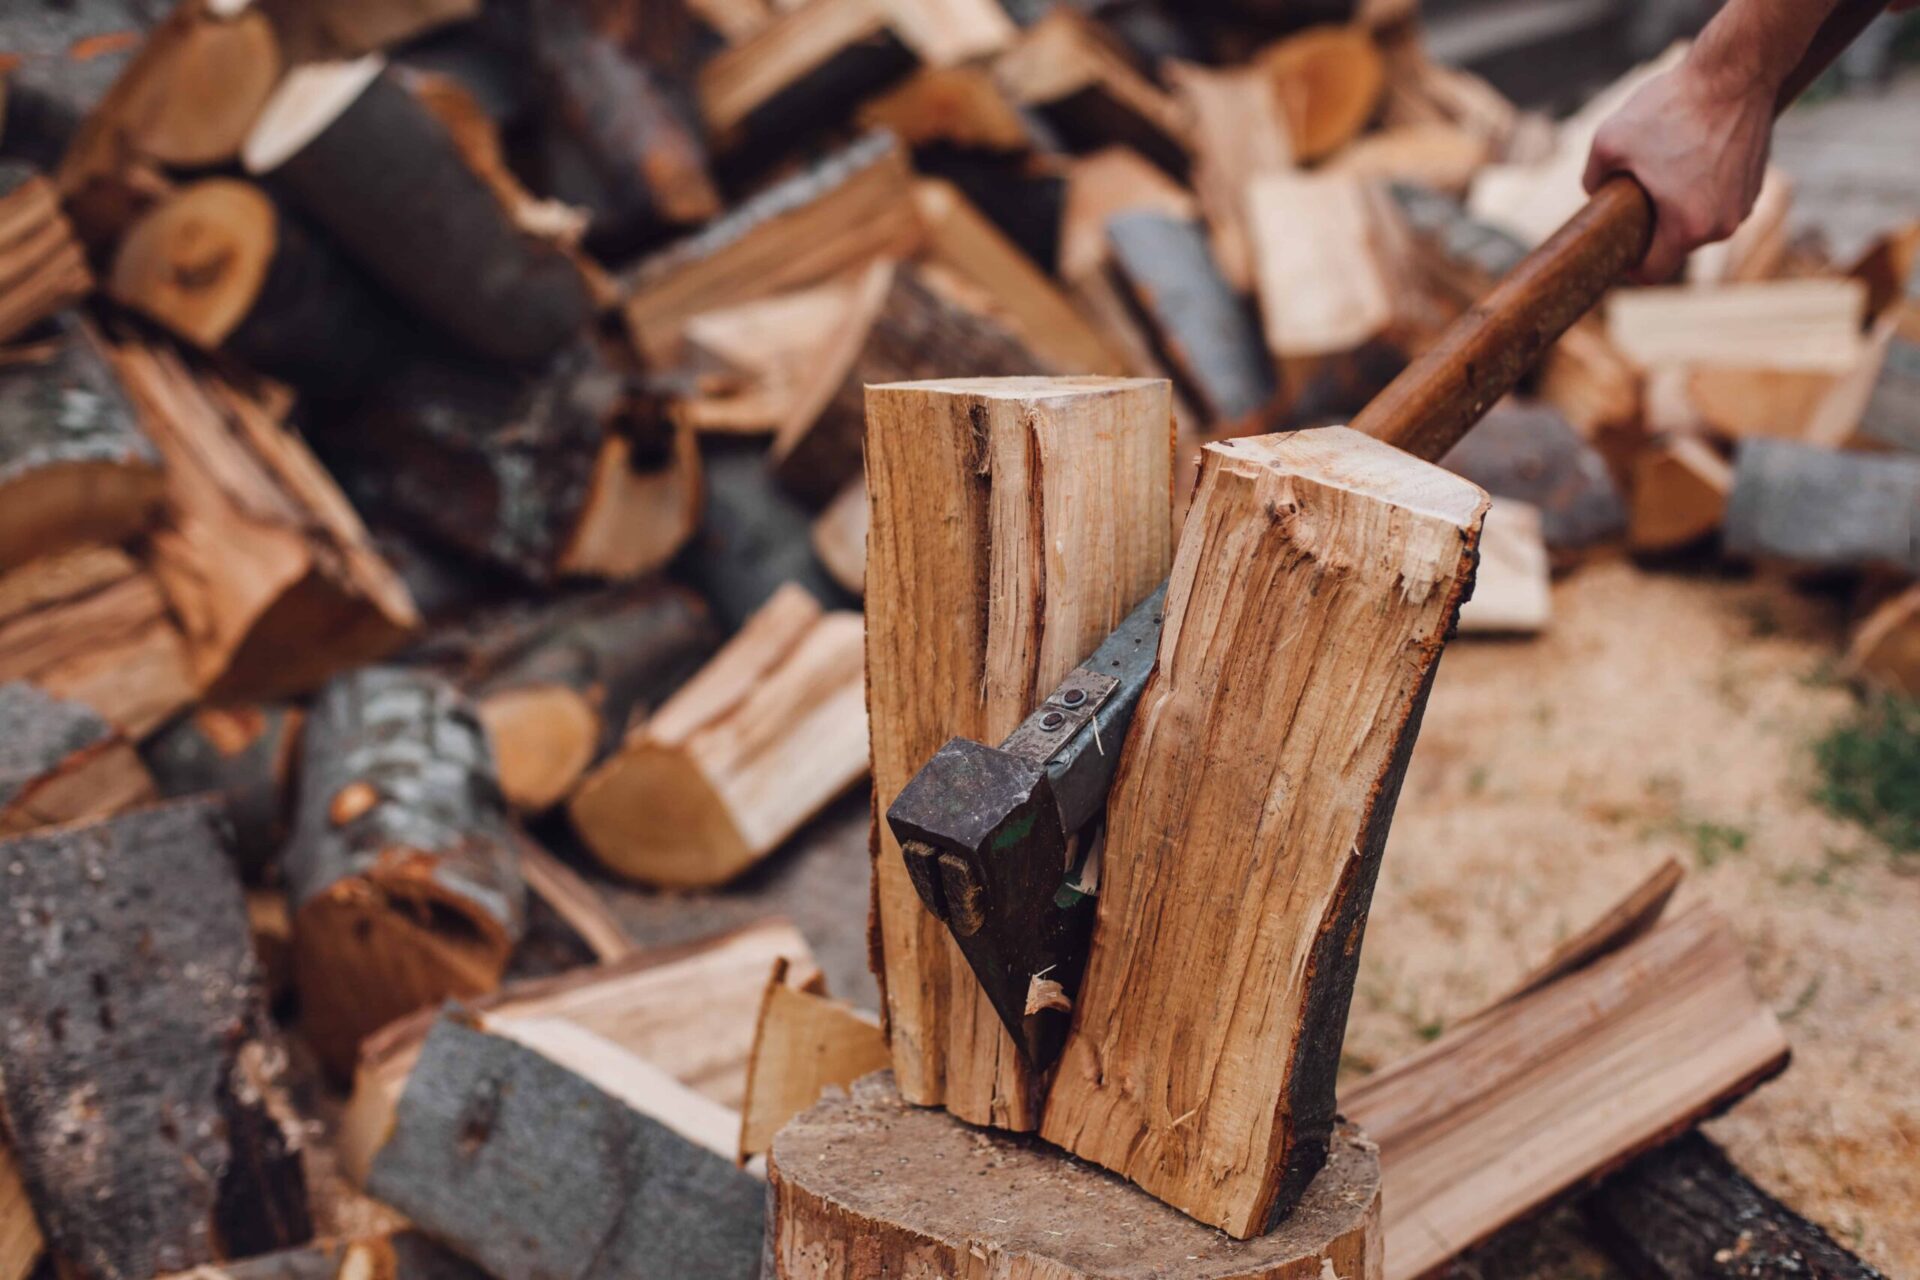 Learning how to use a splitting axe to split wood is an essential skill that connects us to our ancestral roots while providing practical benefits for modern living. Whether you’re preparing firewood for winter heating, creating kindling for camping trips, or simply enjoying the satisfaction of manual labor, mastering the art of wood splitting with an axe requires proper technique, safety awareness, and the right equipment. This comprehensive guide will walk you through everything you need to know about how to use an axe to split wood safely and efficiently.
Understanding the Basics: How to Use a Splitting Axe to Split Wood Effectively
Before diving into the practical aspects of how to use a splitting axe to split wood, it’s crucial to understand the fundamental difference between chopping and splitting. Chopping involves cutting across the wood grain (like felling a tree), while splitting separates wood along its natural grain lines. This distinction is vital because it affects your technique, tool selection, and approach to the task. Wood splitting takes advantage of the natural weaknesses in wood structure. All wood has grain lines that run parallel to the tree’s growth direction. When you use a splitting axe to split wood, you’re essentially forcing these grain lines apart rather than cutting through them. This approach requires significantly less energy and produces cleaner, more usable pieces of firewood.The Science Behind Wood Splitting
Understanding wood grain structure is essential when learning how to use a splitting axe to split wood effectively. Wood fibers run longitudinally through the tree, creating natural split lines. According to Paul Kirtley, an expert bushcraft instructor, “Straight-grained woods are easier to split, while knotty or twisted grains can be challenging.” This knowledge helps you select the right pieces for splitting and adjust your technique accordingly.Essential Tools: Choosing the Right Splitting Axe for Wood Splitting
The first step in learning how to use an axe to split wood is selecting the appropriate tool. Not all axes are created equal, and using the wrong type can make your job significantly more difficult and potentially dangerous.Types of Wood Splitting Tools
| Tool Type | Weight Range | Handle Length | Best For |
| Splitting Axe | 4-6 lbs | 28-36 inches | Medium to large logs |
| Splitting Maul | 6-8 lbs | 32-36 inches | Large, tough logs |
| Hatchet | 1.5-2.5 lbs | 12-16 inches | Small kindling |
| Wedge & Sledge | 8-12 lbs | 28-36 inches | Extremely large logs |
Splitting Axe Characteristics
When selecting a tool for how to use an axe to split wood, consider these key features:- Head Design: Splitting axes have a wedge-shaped head that’s wider than traditional chopping axes. This design helps force the wood apart along the grain lines rather than embedding deeply like a thin-bladed axe.
- Weight Distribution: The 5.5-pound head and 7.2-pound overall weight allow it to power through difficult logs and rounds without being too unwieldy.
- Handle Length: Longer handles provide more leverage and power but require more skill to control. Beginners should start with medium-length handles (28-32 inches) before progressing to longer options.
Safety First: Essential Precautions When Learning How to Use a Splitting Axe to Split Wood
Safety should always be your top priority when learning how to use a splitting axe to split wood. Axes are powerful tools that demand respect and proper handling to prevent serious injury.Personal Protective Equipment (PPE)
The first, and most critical piece of safety equipment is eye protection. This should be non-negotiable. Splitting wood will inevitably send shards of wood flying in every direction, and you’re putting your face pretty close to the impact zone and line of fire.Essential Safety Gear:
- Safety glasses or goggles
- Work gloves (leather recommended)
- Steel-toed boots
- Long pants and long-sleeved shirt
- Hard hat (for overhead work)
Work Area Preparation
Before swinging an axe, proper safety precautions are non-negotiable. Follow these guidelines to minimize risks: Clear Working Area: Ensure a minimum 10-foot radius free of obstacles, people, and pets.Work Area Safety Checklist:
- Clear 10-foot radius around your work area
- Remove all obstacles, tools, and debris
- Ensure stable, level ground
- Keep pets and children away
- Have a first aid kit readily available
- Work in good lighting conditions
Chopping Block Selection and Setup
A good chopping block is fundamental for safety and efficiency. According to the experts at KnivesAndTools, “The perfect chopping block is a straight piece of wood at knee height. The broader the block the better.”Optimal Chopping Block Characteristics:
- Knee-height or slightly lower
- Minimum 18 inches in diameter
- Stable and level surface
- Hardwood preferred (oak, maple, hickory)
- Positioned on firm, level ground
Proper Technique: Step-by-Step Guide on How to Use a Splitting Axe to Split Wood
Mastering the correct technique is crucial for learning how to use a splitting axe to split wood safely and efficiently. Poor technique not only reduces effectiveness but also increases injury risk.Stance and Grip Fundamentals
Proper Stance:- 1. Stand with feet shoulder-width apart
- 2. Position yourself slightly to the side of the log
- 3. Keep knees slightly bent for stability
- 4. Maintain balanced weight distribution
- Dominant hand: Grip near the bottom of the handle
- Non-dominant hand: Start near the axe head during lift
- Sliding technique: Let the non-dominant hand slide down to meet the dominant hand during the swing
The Complete Splitting Motion
Phase 1: Setup and Aim- 1. Position the log on the chopping block
- 2. Stand with the log at the far edge of the block
- 3. Identify the target area (center of the log)
- 4. Take a few practice swings without contact
- 1. Raise the axe overhead with controlled motion
- 2. Keep your eye on the target throughout
- 3. Ensure the axe head is directly above the target
- 4. Maintain proper grip with both hands
- 1. Begin the downward motion with controlled force
- 2. As Alissa Wetherbee, founder of Axe Women Loggers of Maine, advises: “Bring the maul down hard, in a straight line, your higher hand sliding down to meet the other as you swing.”
- 3. Let gravity assist the swing
- 4. Focus on accuracy over power
- 1. Complete the swing motion
- 2. Allow the axe to penetrate the wood fully
- 3. If the wood doesn’t split completely, don’t twist the axe
- 4. Use the techniques described in the troubleshooting section
Advanced Splitting Techniques
- The Flick Technique: The flick technique, as Buckin’ Billy Ray Smith calls it, or the twist as the Vido’s call it, is essential to develop for splitting anything difficult with an axe. It is just a way to use the power generated in the swing to good mechanical advantage by prying the wood apart on impact instead of just wedging it apart with the shape of the axe.
- Hand Splitting Method: For processing smaller pieces of wood, particularly for kindling or in wilderness settings, the hand splitting technique is safer and more controlled: Kneel on the ground with the piece of wood on a horizontal surface · Hold the axe with your dominant hand near the head for control.
Wood Selection and Preparation: Optimizing Your Splitting Success
Understanding wood characteristics is essential for learning how to use a split axe to split wood effectively. Different wood types require different approaches and techniques.Wood Type Characteristics
| Wood Type | Splitting Difficulty | Best Techniques | Season Recommendations |
| Pine | Easy | Standard technique | Green or seasoned |
| Oak | Moderate | Maul recommended | Seasoned preferred |
| Maple | Moderate | Standard technique | Green or seasoned |
| Elm | Very Difficult | Avoid if possible | Not recommended |
| Birch | Easy to Moderate | Standard technique | Green preferred |
| Ash | Easy | Standard technique | Either condition |
Green vs. Seasoned Wood
Green Wood Advantages:- Often easier to split
- Fibers are more pliable
- Less likely to bind the axe
- Burns better when used
- Lighter weight
- Less mess during splitting
Log Preparation Techniques
Proper Log Positioning: Place the log on the stump so that it’s standing the way it grew, that is with the top upper most (no this isn’t a wind up, it really makes a difference!).Size Considerations:
- Optimal diameter: 6-18 inches for most splitting axes
- Length: 16-18 inches for fireplace use
- Avoid knots and branch intersections when possible
Alternative Splitting Methods for Different Scenarios
Learning how to use a splitting axe to split wood involves understanding various techniques for different situations and wood types.Batoning Technique for Difficult Wood
If you need to split wood but aren’t confident of hitting the target, baton instead. Always use a wooden baton, never hit the back of your axe with anything metal.Batoning Setup:
- 1. Place wood on stable surface
- 2. Position axe on the wood
- 3. Hold axe across your body
- 4. Use wooden baton to strike the axe back
- 5. Continue until wood splits
Ground Splitting Methods
Over-Log Technique: Place the piece of wood on the floor laying on top of another piece. Stand either side with your legs well apart so that the piece of wood is in the middle of your feet. You’ll need to hold the handle in both hands and at the end. Strike the end of the piece of wood but don’t follow through with the swing; as you make contact, snatch the axe backwards.Kindling Production Methods
Contact Method for Small Wood: For small kindling, it’s actually easier, faster, and safer not to swing at them at all, but rather to split it using the “contact” method. To split wood down the middle, wedge the axe’s bit into its center, and then bring the wood and axe down together on your chopping block.Troubleshooting Common Problems When Learning How to Use a splitting Axe to Split Wood
Even experienced wood splitters encounter challenging situations. Here are solutions to common problems.When the Splitting Axe Gets Stuck
Safe Removal Techniques: If the axe doesn’t split the wood in half with the first hit, tap the back of the axe until it makes its way down the grain and splits the log into two pieces. Use a piece of wood to do the tapping. If this fails, turn the axe over with the log attached and bring it down onto the stump butt first.Alternative Approaches:
- 1. Rock the splitting axe gently side to side
- 2. Use a wooden wedge to open the split
- 3. Lift the splitting axe and log together, then strike the chopping block
- 4. Never twist the splitting axe handle when stuck
Dealing with Difficult Wood
Strategies for Tough Logs:- Use a heavier splitting maul
- Try the wedge and sledgehammer method
- Look for natural cracks or weak points
- Consider leaving extremely difficult pieces for other uses
Maintaining Accuracy and Power
Technique Improvements:- Practice with lighter, easier wood first
- Focus on consistent aim before increasing power
- Take breaks to maintain concentration
- Consider your splitting axe weight and handle length
Maintenance and Care: Keeping Your Splitting Axe in Top Condition
Proper maintenance is essential for learning how to use a splitting axe to split wood safely and effectively over time.Blade Maintenance
Sharpening Frequency:- Splitting axes don’t need razor sharpness
- Maintain a slightly dull edge for safety
- Sharpen when the axe begins to bounce off wood
- Remove nicks and chips promptly
- 1. Use a file or sharpening stone
- 2. Maintain the original bevel angle
- 3. Work both sides evenly
- 4. Test sharpness carefully
Handle Care
Wooden Handle Maintenance:- Sand and oil handles regularly
- Check for cracks or damage before each use
- Replace damaged handles immediately
- Store in dry conditions
- Clean with mild soap and water
- Inspect for damage regularly
- Replace if cracked or damaged
- Store away from extreme temperatures
Related Products
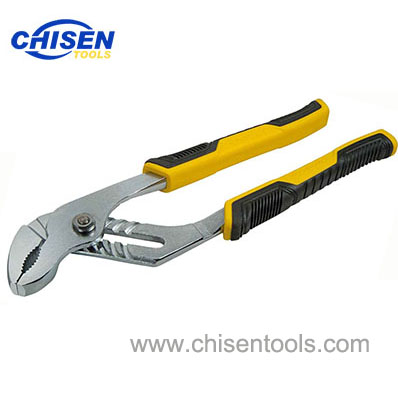
Groove Joint Pliers
Water Pump Pliers,
SIZE: 8" 10" 12"
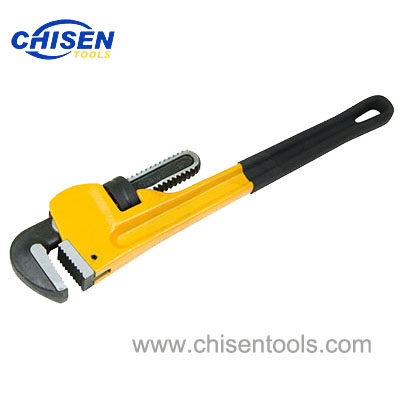
Pipe Wrench
American Type, Heavy Duty;
SIZE: 8"~48", Jaw Capacity: OD 27mm~110mm
Saw
Bi-Metal blade, Heavy Duty Fixed Steel Frame;
SIZE: 12"