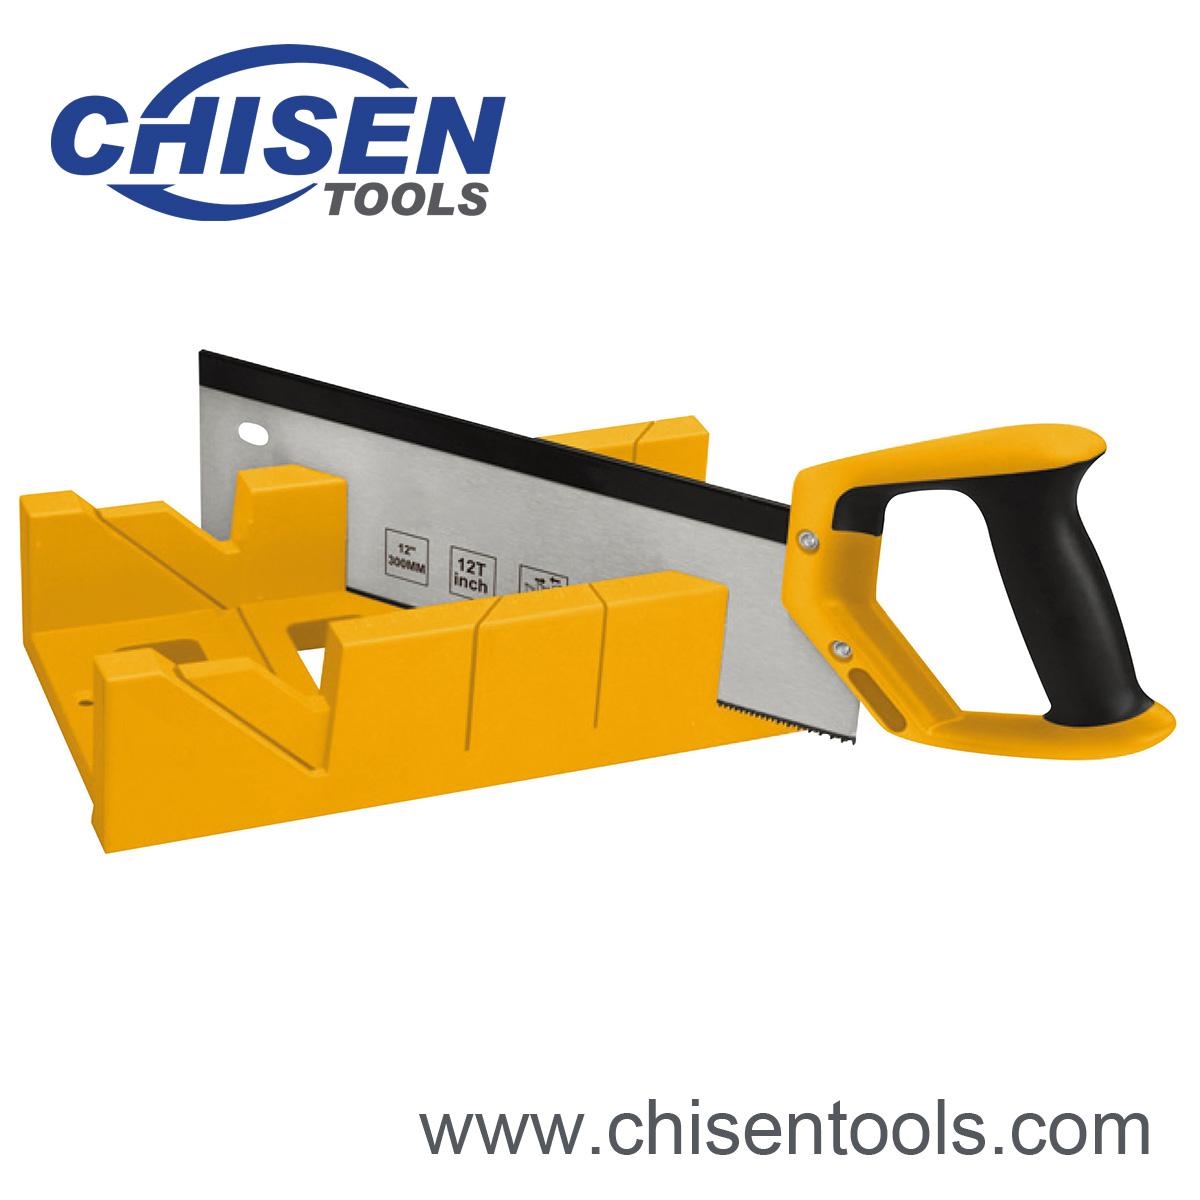
Miter Box
Miter Box, Miter Box with Back Saw Set, 12 inch Plastic Miter Box, Mitre Box
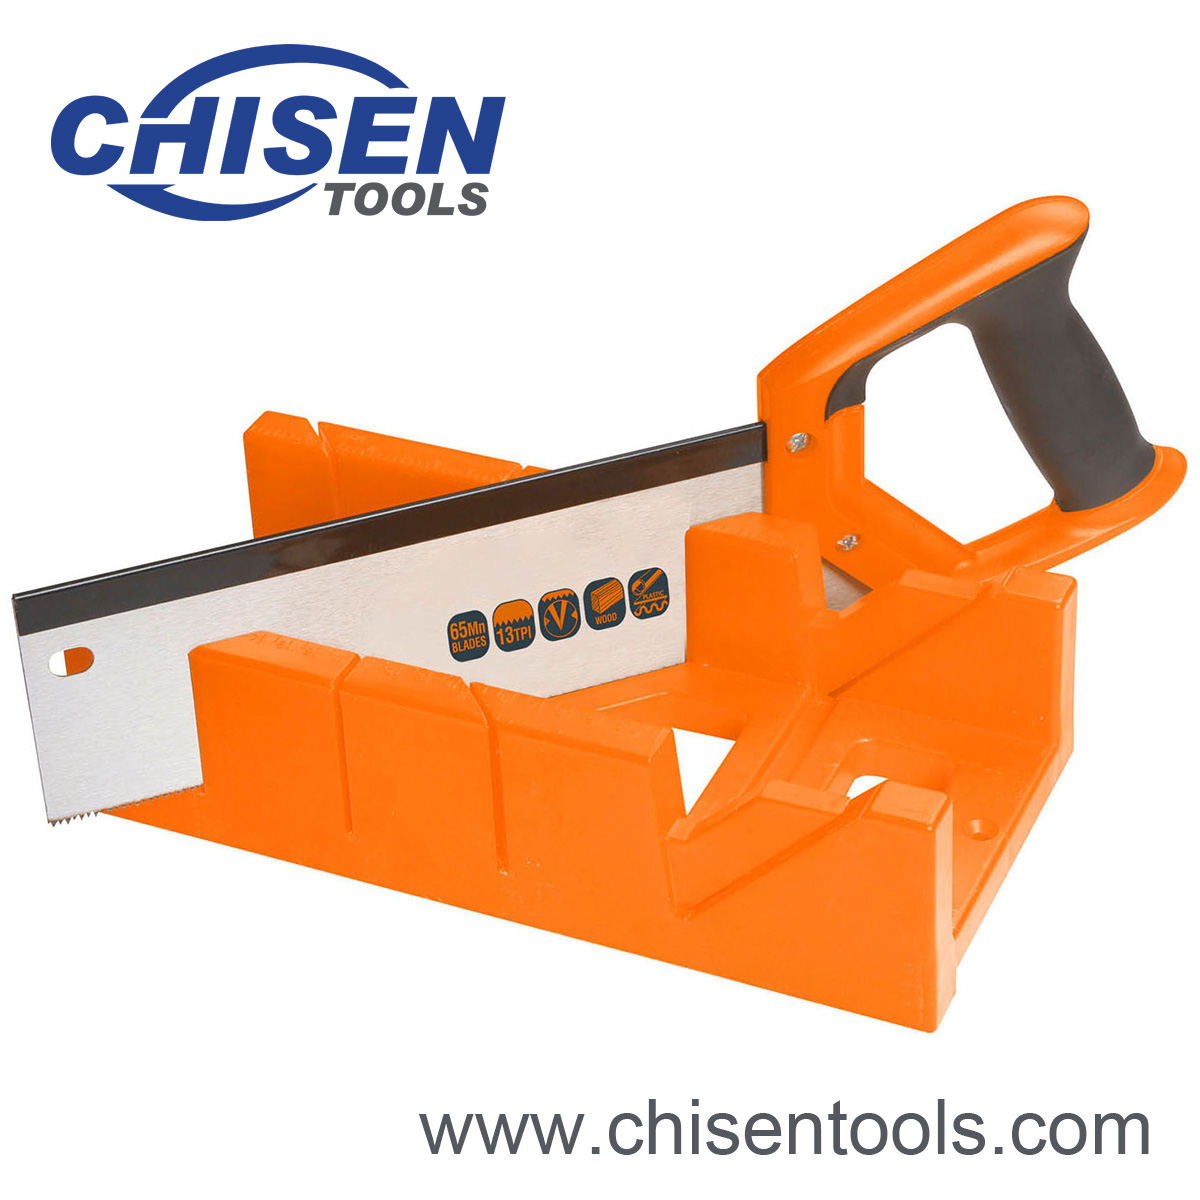
Miter Box
Item No.:CS37003
Size:12" (300mm)
Material: ABS Plastic
Dimensions: 300*140*70mm
Size of Blade: 61*19*0.6mm
Features:
- 1. High Impact Polystyrene Construction for Rigidity.
- 2. Ruler Scale for Quick Measurements.
- 3. 45°, 90°, and 135° Fixed Cutting Angles.
- 4. This mitre saw is designed to cut soft and hard woods commonly used in molding and trimming
- 5. Preset 45 degree and 90 degree angle cuts allow for precisely beveled corner cuts; Precise and accurate 45 degree cutting tool and 90 degree angle cutting tool.
- 6. The hand saw mitre box in this precision saw set includes a built in 8 and 1/2 inch ruler edge for quick measurements and precise cuts.
- 7. This compact mitre saw set comes with a high impact polystyrene mitre box and a steel manual saw with a high impact plastic saw handle.
How to Use Miter Box
A miter box is the tool you need to make precise cuts in wood. Here's how to use it.
A miter box is a simple, affordable tool that allows a DIYer to make accurate cuts in wood. Since this wood angle cutter is hand-powered, they are quiet and they are light enough to be easily moved to almost any project location.
A miter box is a go-to for anyone less inclined to work with power tools, whether on account of space restrictions, safety concerns, or cost. Miter boxes cost a fraction of what it costs to purchase their powered big brother, the benchtop compound miter saw. Comparatively speaking, too, the miter box can be safer to operate.
An added benefit to opting for a miter box is that it minimizes and contains sawdust, which making the tool a smart sawing solution for those working in relatively small, indoor spaces like apartments. Read on to learn more about the miter box’s parts and safety guidelines, and how to use it.
Parts of a Miter Box
Miter boxes are fairly simple in their design, but DIYers should be aware of a few different parts. Keep in mind that higher-end miter boxes may have more parts or adjustments.
- Saw: The part of the miter box assembly that actually cuts the wood
- Box: Box: The part of the assembly that the user places the wood into for cutting
- 90-degree slots: Two slots on either side of the box where the blade rides in for square cuts
- 45-degree slots: The angled slots on either side of the box that cuts 45-degree miters
- Fence: The stop on the back of the saw that has measurements imprinted into it and used as a stop against which to place the wood
- Angle adjustment: The rotating guide that adjusts the saw’s angle (only on adjustable miter boxes)
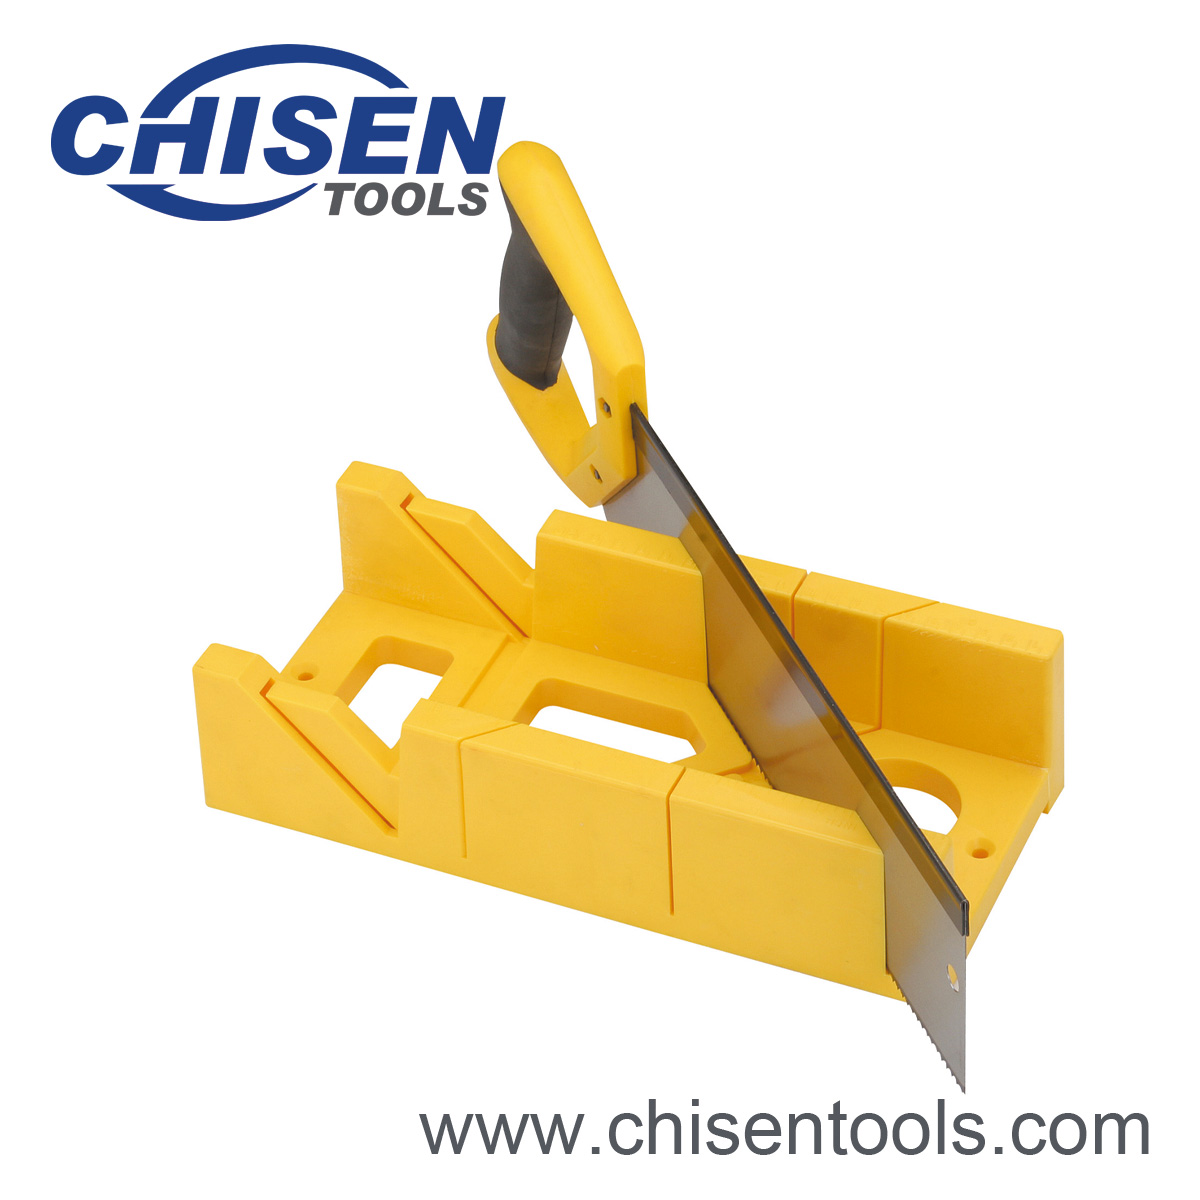
A miter box consists of two components—a hand saw whose teeth are set for crosscutting (cutting wood against the grain) and a “box” that is pre-fashioned with slots on both of the long sides to help the woodworker make accurate angled cuts (typically 90 degrees and 45 degrees).
A miter joint, the tool’s namesake, is made by fitting together two 45-degree cuts to form a right-angled corner.
Types of Miter Boxes
Historically, a carpenter or woodworker would create their own wood miter box to use in combination with their favorite saw. Today, miter boxes can be purchased in three basic designs.
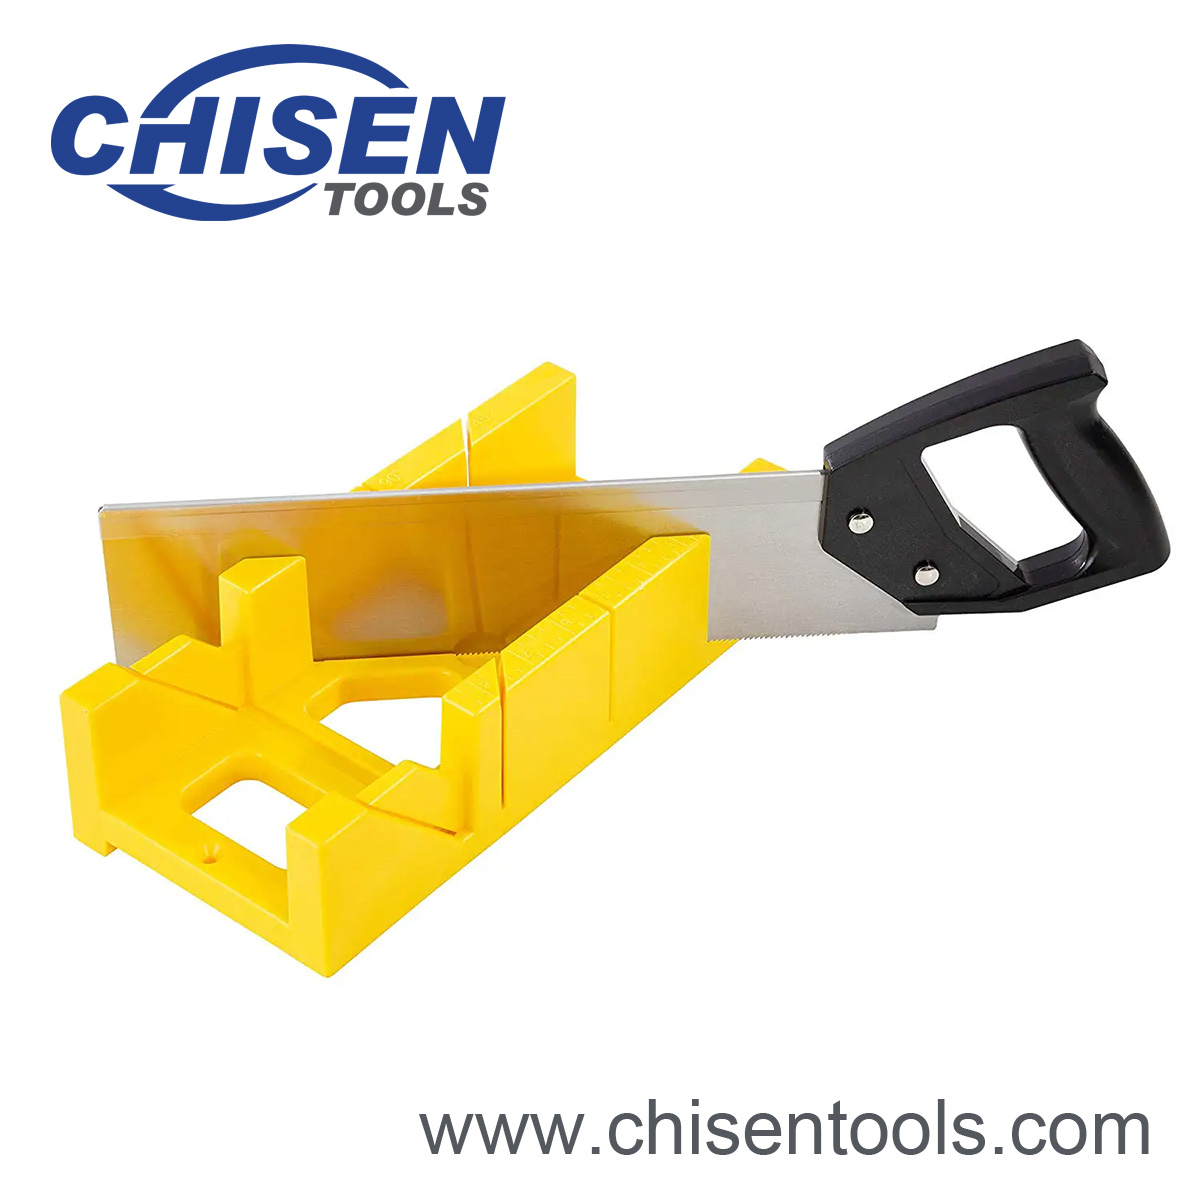
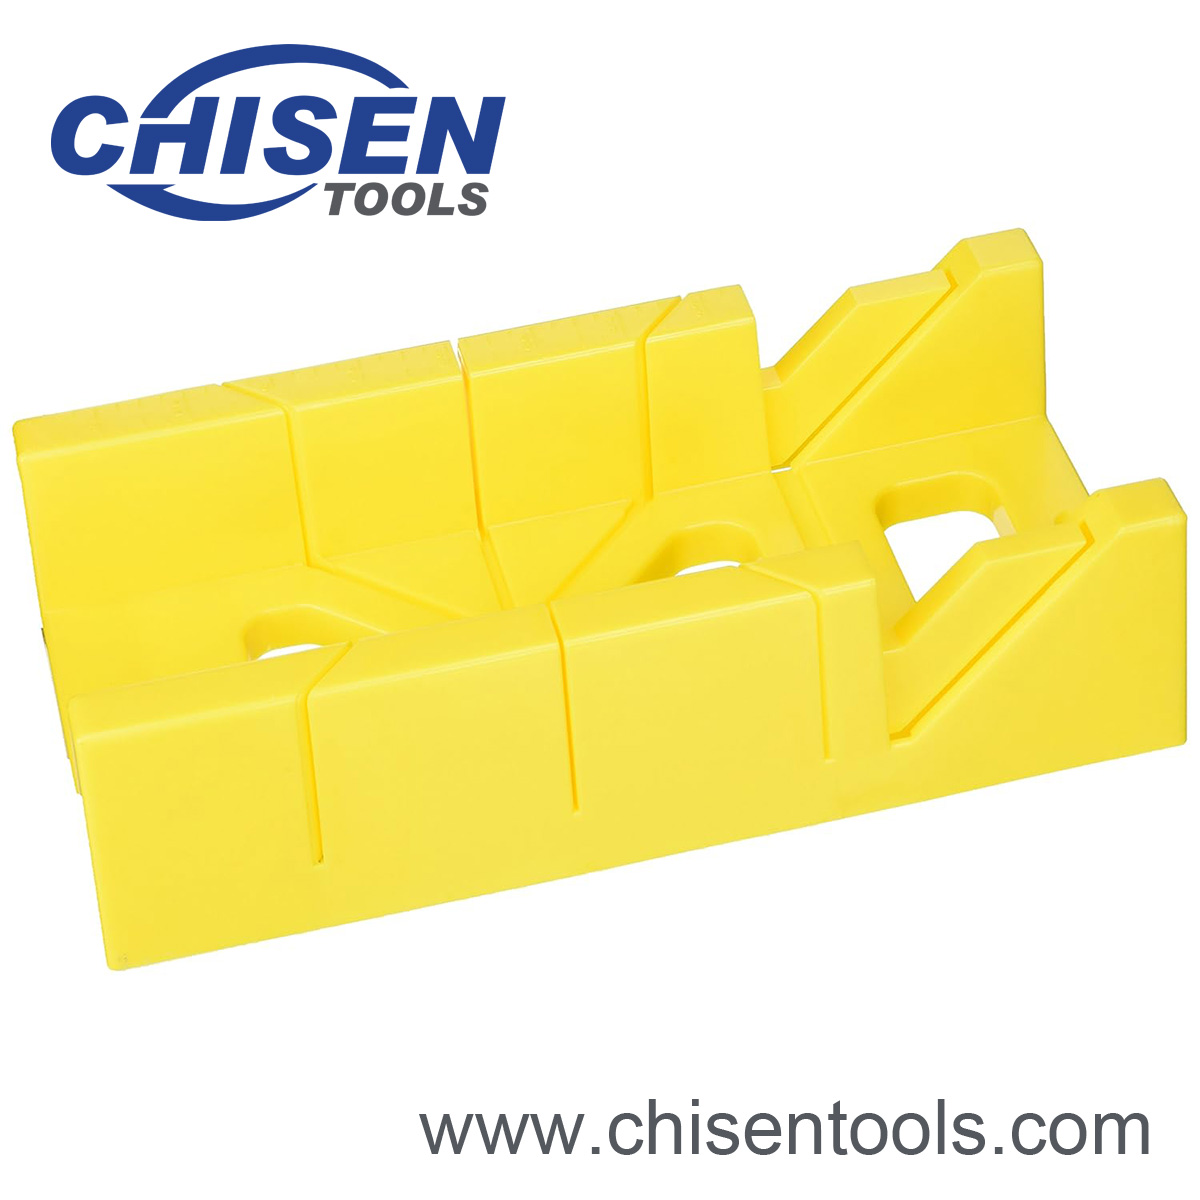
1. Molded Plastic Miter Boxes
Molded plastic miter saws are readily available from brick-and-mortar hardware stores and home centers, as well as from their online storefronts. Basic models can be purchased for as little as $12, while more advanced options max out around $25.
DIYers can usually pick up the classic yellow plastic model for around $30. User-friendly and affordable, entry-level miter boxes like these can make quick work of simple, light-duty tasks, such as creating basic picture frames.
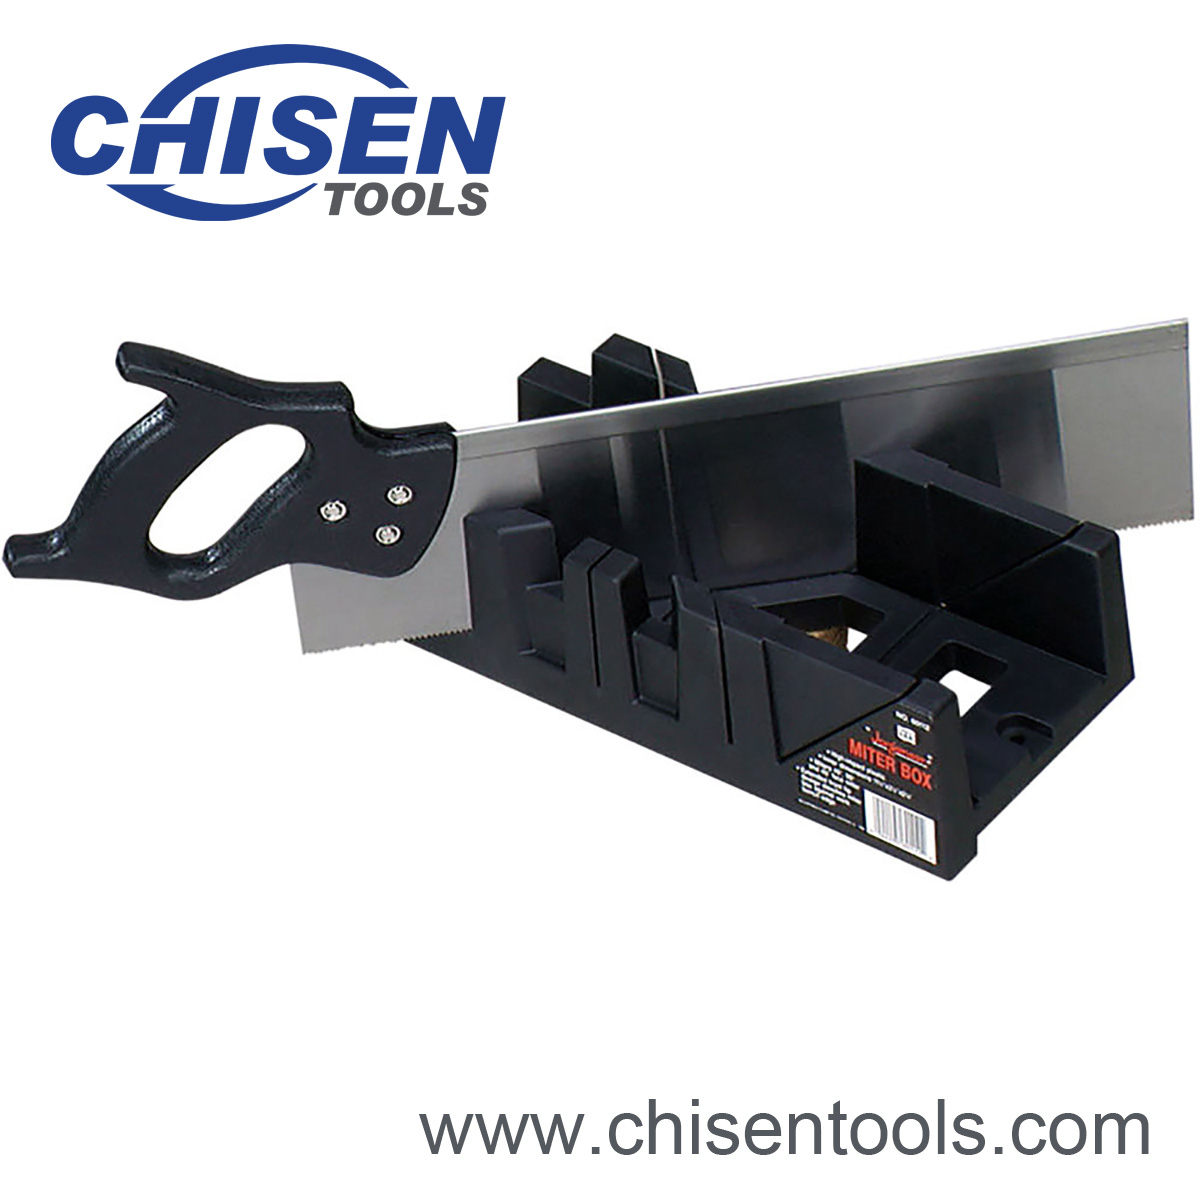
2. Precision Miter Boxes
The next level up is a precision handheld miter saw, which features a higher-quality saw, a fuller spectrum of adjustable degree cutting (with stops for common angles), and hold-down clamps to keep the workpiece in place. Rather than plastic, precision miter saws are made from machined metal for added strength and stability. Some even have adjustable fences for calibration purposes.
This category of saw is the best option when a DIYer is planning to install molding or trim, or if they cut the occasional length of dimensional lumber. However, they are a bit more expensive than the more familiar plastic miter boxes. A quality precision box with a saw can run around $50.
3. Fine Woodworking Miter Boxes
A great hobby shop addition, a fine woodworking miter hand saw is used for wood stock that might see damage from the rotating blade of a power tool, or by any saw with coarser teeth. Due to its limited size, this type of miter box works best with light and small trim or decorative pieces.
These miter boxes rarely feature clamping holes or even holes to screw them to the work surface, as they are certainly light-duty tools. However, the metal construction makes them accurate and long-lasting, and they’ll usually cost $20 to $30.
Miter Box Safety
There are several ways to make sure users are safe while cutting material with a miter saw with a miter box. Even when using a miter saw where the blade is primarily inside the box, users should avoid sticking the thumb outward on their support hand. Instead, keep the thumb alongside or underneath the palm to prevent accidentally cutting the thumb.
Any time a DIYer performs a repetitive motion such as sawing, it’s important that they use the proper grip to avoid injury. It’s safe for the user to keep the back of the sawing hand in line with the forearm in a neutral position.
Sturdy clamps will help avoid an accident from occurring due to a sliding miter box, but they’re not always practical. In cases where they’re not, consider mounting the box to a work surface with screws or bolts.
- Hold the thumb on the supporting hand alongside or underneath the palm to prevent possible injury.
- Avoid injury by maintaining a neutral grip while sawing.
- When clamps aren’t practical, consider screwing or bolting the miter box to the work surface.
Initial Setup and Calibration
Miter boxes are all about precision, but users still need to check their new tool to ensure it’s accurate. The easiest way to check a miter box for accuracy is to place a piece of wood in the saw box and cut straight across the board at 90 degrees. Then, the user can check the accuracy by flipping over one of the cut boards and placing the cut edges face to face. If the boards are perfectly straight, the blocks will match and the user can be assured that the miter box is accurate.
On the occasion where a precision miter box is out of alignment, it typically requires adjusting the fence. Simply loosen the bolts holding the fence in place and adjust it slightly, making repeated test cuts until the saw cuts straight. (Note: This isn’t available on all precision miter boxes.)
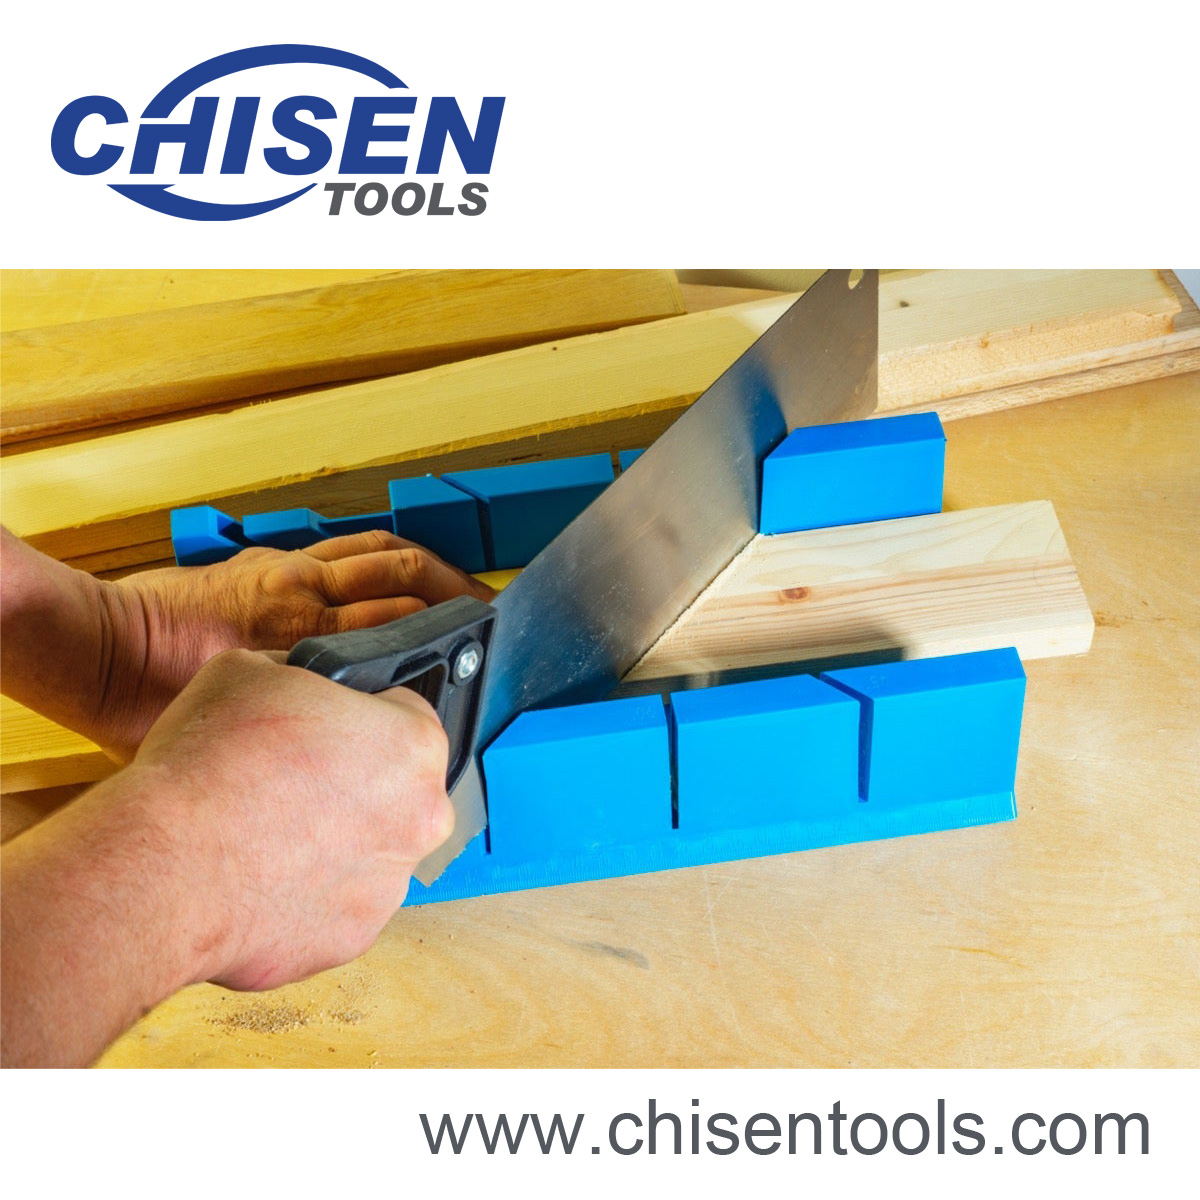
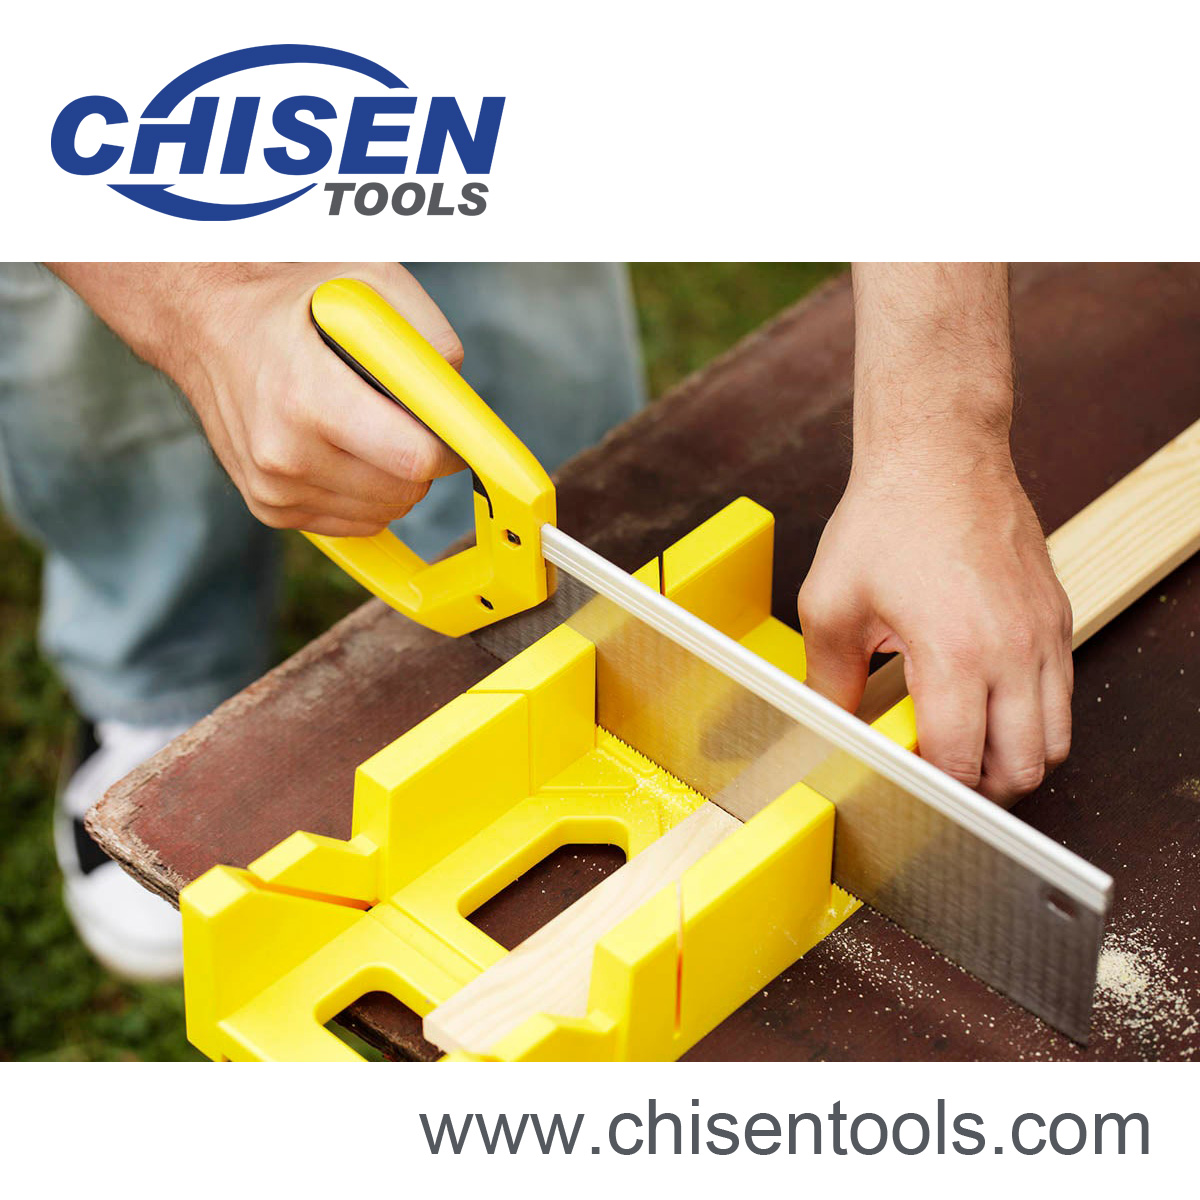
How to Use a Miter Box
Learning how to use a miter box isn’t difficult, but first-time users may need a little practice before getting the hang of the tool. Follow these steps to familiarize yourself with the process.
STEP 1: Measure and mark your cut line.
Stretch a tape measure down the length of the board and find the measurement on the tape. Use a pencil to mark the board at the correct measurement. Use a speed square registered against the mark to draw a square or 45-degree line across the board.
The old adage, “measure twice, cut once,” applies, so be sure to measure once more after drawing the mark.
Pro Tip: For the most accurate marks possible with a pencil, make a “V” shaped mark with the point of the V lined up with the measuring tape’s mark.
STEP 2: Clamp your miter box to a stable surface.
Pro Tip: Some miter box designs are tough to clamp in place. Though screws will work, some folks would prefer not to permanently attach anything to their work benches. In this case, consider attaching a board that’s 3 or 4 inches longer than the miter box to its bottom. The wood overhanging the edges makes a great spot for a set of clamps.
STEP 3: Place your cut piece in the miter box.
Whether cutting trim, framing lumber, or anything else, DIYers need to place the workpiece in the miter box using clamps to secure the piece to the box. Make sure to orient the wood toward the angle of cut, noting whether to cut across the face of the wood (a bevel) or across the height of the wood (a miter).
Pro Tip: Where to clamp the workpiece in a clamping miter box also matters. For pull saws, it helps to clamp the board against the fence closest to the user. For saws that cut on the push stroke, clamp them against the far fence. This should provide slightly smoother cuts and lower the degree of vibration caused by the saw stroke.
STEP 4: Score the mark line.
Using light, short strokes, score the cut line. The saw teeth should register just to the outside of the pencil mark. If they don’t, loosen the clamps holding the workpiece in place and adjust the board’s positioning.
Once the saw is in the correct alignment, increase the effort and length of stroke to cut through the workpiece.
Pro Tip: There was a time when veteran carpenters on construction sites would remind newcomers to “let the saw do the work.” This meant using longer saw strokes and less speed and force.
STEP 5: Finish the cut.
Continue with the long, smooth strokes to cut through the wood. Remember that it’s faster to cut wood with longer strokes than it is with faster, shorter strokes, so make long passes while maintaining a neutral wrist position.
As the cut is nearing the end, the board may begin to pinch the blade slightly on long strokes. In this case, revert to shorter, controlled strokes until the saw blade passes all the way through the wood.
Miter Box Maintenance Tips
Be sure the saw is sharp. Dull saws require more force and are thereby more dangerous. Also, dull saws tend to be less accurate, even when riding in the grooves of a miter box. If there isn’t a saw-sharpening service nearby, it’s often more cost effective to purchase a new hand saw than seek out sharpening.
The teeth on a hand saw can wear the plastic away along the sides of the slots of a plastic miter box. When this happens, the slots become wider and less accurate. It’s a wise idea to check older miter saws for accuracy and replace them when cuts get a bit sloppy.
Be sure to keep miter boxes clean from debris and gunk. Build-up within the box will prevent the workpiece from sitting flat, affecting the accuracy of the cut. Blow out sawdust with compressed air. Also, wipe any adhesives that might squeeze out while clamping miter joints near the box.
- Replace or sharpen saws whenever they become dull.
- Check older miter boxes for accuracy as the slots can widen.
- Keep dust, dirt, debris, and adhesive clear of the miter box.
Final Thoughts
Don’t feel intimidated by a miter box or any other tool. Everyone has to start somewhere, and these types of guides help. Between the steps, pro tips, safety considerations, and other details about miter boxes and saws listed above, most DIYers will be ready to learn how to use a miter saw. It simply starts with an informed purchase and a bit of background information. DIYers should remember that there is no substitute for hands-on experience, so practice is important.